Adjustment Layer

Original

Edited Version
For this shot I really wanted the flower to pop. So, I created a couple of adjustment layers to play around with. I changed the brightness/contrast on the whole picture to make the flower stand out. I then added another adjustment layer to adjust the saturation slightly to bring out the pinks and yellows in the flower. I added another hue/saturation adjustment layer and lowered the saturation and made it a little darker. Then, using the mask of that layer, I carefully removed the effects of that layer from the flower so it remained only on the background.
Smart Filter

Original

Edited Version
For this picture I used a smart filter by first making the original layer a smart object. I then applied the palette knife filter to the picture, and using the mask tool, removed the effect from the subject's face and part of his body. I feel that this effect made the subject look like he was starting to blend into a painting. I also cropped it to bring the viewer closer to the subject.

Original
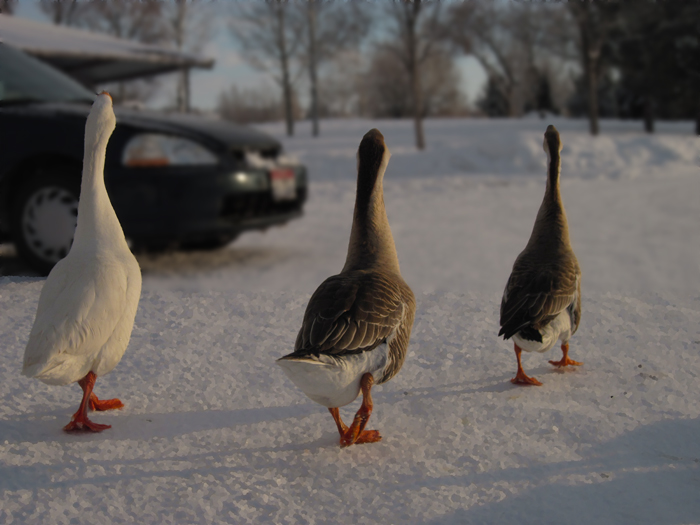
Edited Version
I also edited this picture using a smart filter. Using the palette knife filter, I made the picture look like a painting. I used a mask to remove the effect from the geese. I cut out part of the background, copied it, and applied a Gaussian blur. This way, the foreground and the geese are sharp and clear, but the car and the background are blurry. I also added a couple of adjustment layers to brighten it up a little and add some saturation to the geese.
Photo Information
Christmas Cactus Flower: 1/21/11—1:50 PM; Rexburg, ID; f/2.7; 1/500 sec; Canon PowerShot A1100, macro
Alone: 1/23/11—4:22 PM; Rexburg, ID; f/8; 1/500 sec; Canon PowerShot A1100
Geese in a Row: 1/23/11—4:20 PM; Rexburg, ID; f/3.5; 1/250 sec; Canon PowerShot A1100
No comments:
Post a Comment