Sunday, February 6, 2011

Portraits

Portraits:

 
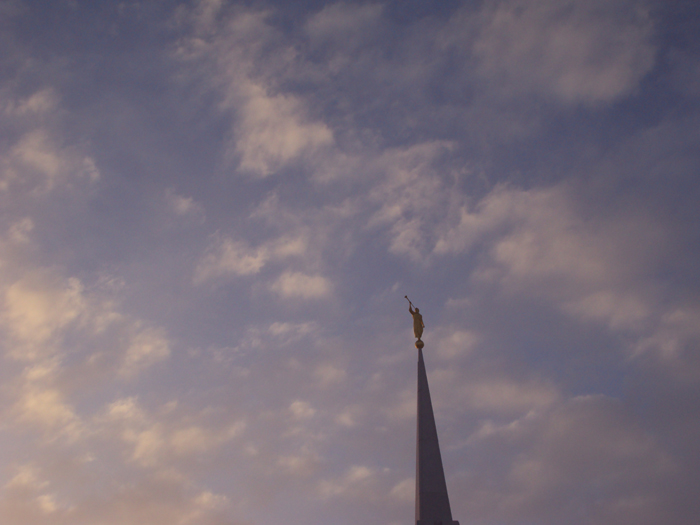
Blake: 2/2/11—12:00 PM; BYU-I photo studio; f/8; 1/160 sec; Nikon D2X; no camera flash, used studio lights, tripod
-For this picture, I zoomed in from the original and enhanced it a little bit.

Homeless Harrison: 2/6/11—7:35 PM; Rexburg, ID; f/4; 1 sec; Canon PowerShot A1100; used tripod and timer
-I adjusted the levels slightly as well as lowered the brightness and contrast just a bit to make it a little darker.

Environmental Portrait:
Erin in her Element: 2/5/11—6:15 PM; Rexburg, ID; f/2.7; 0.6 sec; Canon PowerShot A1100; used tripod and timer
-My sister-in-law came over and was working on an armature for one of her art classes. I used a warming filter as well as bumping up the contrast. I then added a blank layer and applied a flexible vignette to make Erin stand out more.

Group:
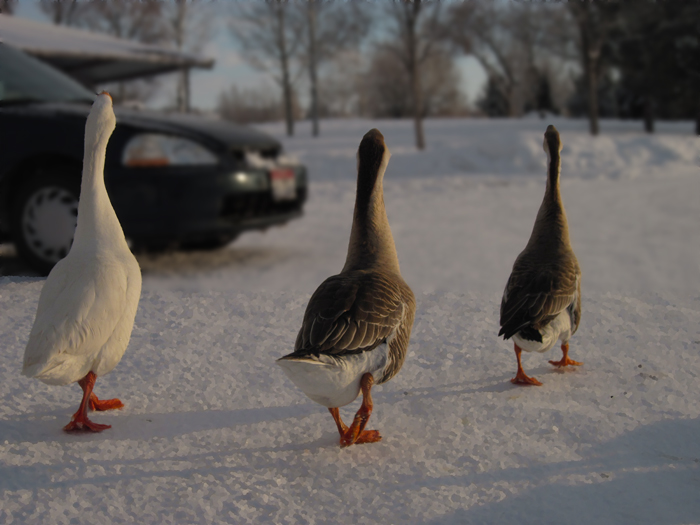
Weather Proof: 2/5/11—11:57 AM; Rexburg, ID; f/2.7; 1/100 sec; Canon PowerShot A1100, used timer and set camera on dash of car
-My husband and I went sledding on Saturday and I decided we should get a picture of the occasion. This picture was kind of blown out, so I lowered the exposure and increased the gamma. I also applied a photo filter and warmed it up.

Edit: Portraits

I really enjoyed this assignment. I love editing photos and I am always looking forward to learning how to do new things.

Enhancement:
[Challenge] Luminous: 2/3/11—4:14 PM; Rexburg, ID; f/2.7; 1/100 sec; Canon PowerShot A1100
-I really wanted to try this effect, but didn't have access to a model, so I used myself. The light was coming just right through my window, so I took a few shots and chose this one. I am really not a fan of the original. I used this tutorial to get the luminosity effect on this picture. http://www.planetphotoshop.com/design-effects-2.html I also zoomed the picture in because I didn't like the composition.

 ORIGINAL

EDITED

Color Replacement:
Kooky Rachel: 2/2/11—12:00 PM; BYU-I photo studio; f/8; 1/160 sec; Nikon D2X; no camera flash, used studio lights, tripod
-I first selected the shirt that I wanted to change and then used the color match tool (under Image--Adjustments) in Photoshop to match Rachel's shirt to her boots.

 ORIGINAL
 

EDITED

Color Match:
Messy Max: 2/6/11—5:50 PM; Rexburg, ID; f/5.6; 1/60 sec; Canon PowerShot A1100; flash
-I used color match to warm up this picture a little bit. The original match without any changes made the picture of Max pretty dark, so I bumped up the luminance and increased the fade as well.

 ORIGINAL

Match color using:

EDITED

Sunday, January 30, 2011

Panoramic

This was a brand new concept for me. I had never realized before that you could take several pictures (without the panoramic option on your camera) and blend them together with Photoshop. Photomerge is a great tool and that is what I used to create this image. I took five separate pictures of the temple and then blended them together with photomerge. I added some brightness and contrast to the image and cropped it slightly as well. I also used the content aware tool in CS5 (it's totally awesome) to help increase my borders so I didn't have to crop in as much.


Rexburg Beauty: 1/30/11—5:24 PM; Rexburg, ID; f/5.2; 1/400 sec; Sony DSC-S930

Edit: Camera Raw

Camera Raw is pretty awesome. I am still learning how to use it, but I am having fun in the process. For this first image, I just did a few edits with Camera Raw. It definitely makes things easier and faster with editing. I increased the blacks, and added a little brightness, clarity, and vibrance. The original is first; the edited version is second.


Sunset; 1/30/11—5:27 PM; Rexburg, ID; f/8; 1/250 sec; Sony DSC-S930

           
For the second image, I actually took a raw image with a DSLR. The lighting wasn't very great when I took the picture, but I was able to fix it up quite nicely with Camera Raw. I increased the recovery, blacks, brightness, contrast, clarity, vibrance, and saturation in this image. I also cropped it in.

Magic?: 1/29/11—7:52 PM; Blackfoot, ID; f/3.3; 1/10 sec; Nikon D70s; raw image
This image is of a little trick my brother-in-law taught me. Pretty cool, huh?

Sunday, January 23, 2011

Flora & Fauna


For this assignment I wanted to find plants that weren't dead (slightly hard in January in Idaho). But, I was able to find some really cool plants in the greenhouse in the Benson building on campus. As for my animal, there's always ducks and geese at Nature Park. So, I was set.


Photo Information
Palm Leaves: 1/21/11—1:48 PM; Rexburg, ID; f/2.7; 1/400 sec; Canon PowerShot A1100, macro
-I adjusted the levels, brightness/contrast, and color balance to make the green palm stand out against the purplish background.

On Fire: 1/21/11—1:46 PM; Rexburg, ID; f/4.5; 1/160 sec; Canon PowerShot A1100, macro
-I adjusted the brightness/contrast and saturation to make the colors even more vivid. The lighting in the greenhouse kind of dulled the colors in the photo from what I actually saw.

Close-Up: 1/23/11—4:19 PM; Rexburg, ID; f/4; 1/500 sec; Canon PowerShot A1100
-I adjusted the brightness as well as the hue/saturation. I darkened the background to make goose in front stand out a bit more.

Edit: Adjustment Layers and Smart Filters

This was a fun assignment for me. I love nondestructive editing! 

Adjustment Layer
Original
Edited Version
For this shot I really wanted the flower to pop. So, I created a couple of adjustment layers to play around with. I changed the brightness/contrast on the whole picture to make the flower stand out. I then added another adjustment layer to adjust the saturation slightly to bring out the pinks and yellows in the flower. I added another hue/saturation adjustment layer and lowered the saturation and made it a little darker. Then, using the mask of that layer, I carefully removed the effects of that layer from the flower so it remained only on the background.

Smart Filter
 Original
 
Edited Version
For this picture I used a smart filter by first making the original layer a smart object. I then applied the palette knife filter to the picture, and using the mask tool, removed the effect from the subject's face and part of his body. I feel that this effect made the subject look like he was starting to blend into a painting. I also cropped it to bring the viewer closer to the subject.

 
Original
Edited Version
I also edited this picture using a smart filter. Using the palette knife filter, I made the picture look like a painting. I used a mask to remove the effect from the geese. I cut out part of the background, copied it, and applied a Gaussian blur. This way, the foreground and the geese are sharp and clear, but the car and the background are blurry.  I also added a couple of adjustment layers to brighten it up a little and add some saturation to the geese.

Photo Information
Christmas Cactus Flower: 1/21/11—1:50 PM; Rexburg, ID; f/2.7; 1/500 sec; Canon PowerShot A1100, macro

Alone: 1/23/11—4:22 PM; Rexburg, ID; f/8; 1/500 sec; Canon PowerShot A1100

Geese in a Row: 1/23/11—4:20 PM; Rexburg, ID; f/3.5; 1/250 sec; Canon PowerShot A1100