Saturday, February 26, 2011

Cemetery Shot

Here is my best cemetery shot from the Bannack Cemetery.
How Sweet a Flower: 2/22/11—5:34 PM; f/3.2; 1/250; Canon PowerShot A1100
-I made this picture into an HDR image.

Monday, February 21, 2011

Night & Light

I loved doing this assignment. I have done a little night photography before, but it was fun to experiment with new techniques.

Camera Motion Painting: For these two shots, I set my shutter for a longer exposure and moved my camera around to create the dancing light.

Swirls: 2/18/11—8:16 PM; Rexburg, ID; f/2.7; 2.5 sec.; Canon PowerShot A1100
-I increased the contrast and saturation to this picture.

Dancing Light: 2/18/11—8:15 PM; Rexburg, ID; f/2.7; 1.6 sec.; Canon PowerShot A1100
-I increased the contrast and saturation to this picture.

Moving Light Capture: For this picture I set up my tripod and put my camera on a self timer. My shutter was open for six seconds and so I got cars stopping and going. I cropped the image down to make the composition better.

 Light Motion: 2/18/11—8:12 PM; Rexburg, ID; f/2.7; 6 sec.; Canon PowerShot A1100
-I added contrast and bumped up the saturation to this shot.

Light Painting: For these two shots I used the "painting with light" technique. We were in a completely dark room and the only light source was the small lights we were painting with. It was fun to see what kind things we could come up with (my husband helped me). 

On the Lighter Side of Love: 2/19/11—10:03 PM; Blackfoot, ID; f/2.7; 15 sec.; Canon PowerShot A1100
-I lowered the contrast on this picture.

To Paint a Flower: 2/19/11—10:15 PM; Blackfoot, ID; f/3.2; 15 sec.; Canon PowerShot A1100
-I increased the contrast and made it a little darker.

This picture was an experiment, but I thought it turned out kind of cool. He stood in one location for five seconds, moved quickly, then posed for another five seconds. The result:
Fatal Blow: 2/19/11—10:09 PM; Blackfoot, ID; f/2.7; 15 sec.; Canon PowerShot A1100
-I added a little contrast to this shot, as well as lowered the brightness.

Edit: Fine Art Template

For my signature on my template, I used my mouse and made it in Illustrator instead of scanning my own signature. I tried to make it as close to my signature as possible and it is actually really close. I thought this would be just as easy and it is already on a transparent background so it works quite nicely.


Sunday, February 13, 2011

Scanography

Scanography is so cool. I had never heard about it before this class, but I had a ton of fun playing around with it. For those of you who don't know, scanography is taking a picture, but with a scanner instead of a camera. You can get some really neat effects with light and focus that are very unique to this style of art.

For this assignment I was supposed to do two images. One just with everything on the scanner (a one scan) and one that was at least three different images that I blended together in Photoshop (a collage scan). Here's what I came up with.

One scan:
Girl Power
This scan was created by placing all the items on the scanner bed and placing a box over the top (to block the light) so the background would be black. I increased the contrast and the saturation in the advanced options on the scanner.

Star-Gazing
For this one, I just placed the bouquet on the scanner bed and put ribbon all around it. I also increased the saturation and contrast on this one too, as well as boosting up the fuchsia tones.

Collage Scan:
 Original Scans


Final Edit:
 Ode to the Uke
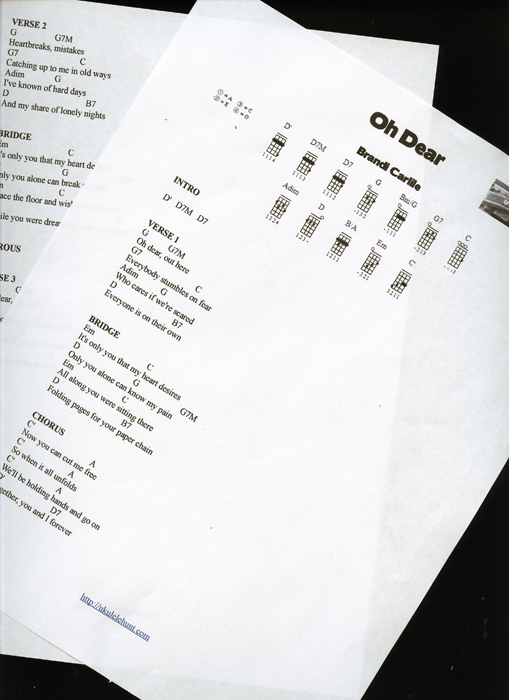
 This one was a little more tricky than I thought it was going to be. I scanned all three images in, only editing the contrast and saturation on the ukulele. I then took the three images into Photoshop. I used the music as the background, so I didn't make any changes to it except to up the contrast just a bit. I then removed the black portions off the ukulele image and the book image. I wanted to use the book picture because it is a book I inherited from my grandparents, and it's pretty cool. The song in the back is one of my favorite songs to play. I used the linear light blending mode on the book and decreased the opacity of the ukulele to 90%. I rotated the images slightly to get the composition I wanted, and I really like how the final image turned out.

Edit: Borders

I had a lot of fun learning different border effects. It really can make a regular picture really turn into a piece of art. Here are three different effects I have learned.

Original

Edited

 
Little Chickadee: 2/2/11—1:00 PM; Rexburg, ID; f/5.6; 1/800 sec; Canon PowerShot A 1100
-I added contrast and more saturation to help the picture look better. For the edge effect, I used the #11 Flexible Brushed-on Effect. I used an all black mask and painted the picture back into view with white paint. I changed the opacity several times on my brush to give it a more realistic brush stroke look.

Original

Edited:

Always Watching: 1/31/11—1:23 PM; Rexburg, ID; f/3.5; 1/125 sec; Canon PowerShot A 1100
-I increased the saturation and made the skin more even using a soft paint brush at 30% opacity. I used the #9 Sprayed Edge Effect for the border on this picture.This effect is obtained by adding a sprayed strokes filter and a border to the photo.

Original

Edited

La Bandera: 1/30/11—6:26 PM; Rexburg, ID; f/6.8; 1/500 sec; Canon PowerShot A 1100
-I increased the saturation and contrast. I used the #12 Double Fade Border for this picture. This border was created by increasing the canvas size to put the black border around the edge. The inner border was created by using the rectangle shape tool. First, I added a white rectangle to the inside of the black border and then, using a mask, got rid of the inner part of it. I added a strong motion blur to the inside so it would fade into the picture and decreased the opacity of the layer.

Sunday, February 6, 2011

Portraits

Portraits:

 
Blake: 2/2/11—12:00 PM; BYU-I photo studio; f/8; 1/160 sec; Nikon D2X; no camera flash, used studio lights, tripod
-For this picture, I zoomed in from the original and enhanced it a little bit.

Homeless Harrison: 2/6/11—7:35 PM; Rexburg, ID; f/4; 1 sec; Canon PowerShot A1100; used tripod and timer
-I adjusted the levels slightly as well as lowered the brightness and contrast just a bit to make it a little darker.

Environmental Portrait:
Erin in her Element: 2/5/11—6:15 PM; Rexburg, ID; f/2.7; 0.6 sec; Canon PowerShot A1100; used tripod and timer
-My sister-in-law came over and was working on an armature for one of her art classes. I used a warming filter as well as bumping up the contrast. I then added a blank layer and applied a flexible vignette to make Erin stand out more.

Group:
Weather Proof: 2/5/11—11:57 AM; Rexburg, ID; f/2.7; 1/100 sec; Canon PowerShot A1100, used timer and set camera on dash of car
-My husband and I went sledding on Saturday and I decided we should get a picture of the occasion. This picture was kind of blown out, so I lowered the exposure and increased the gamma. I also applied a photo filter and warmed it up.

Edit: Portraits

I really enjoyed this assignment. I love editing photos and I am always looking forward to learning how to do new things.

Enhancement:
[Challenge] Luminous: 2/3/11—4:14 PM; Rexburg, ID; f/2.7; 1/100 sec; Canon PowerShot A1100
-I really wanted to try this effect, but didn't have access to a model, so I used myself. The light was coming just right through my window, so I took a few shots and chose this one. I am really not a fan of the original. I used this tutorial to get the luminosity effect on this picture. http://www.planetphotoshop.com/design-effects-2.html I also zoomed the picture in because I didn't like the composition.

 ORIGINAL

EDITED

Color Replacement:
Kooky Rachel: 2/2/11—12:00 PM; BYU-I photo studio; f/8; 1/160 sec; Nikon D2X; no camera flash, used studio lights, tripod
-I first selected the shirt that I wanted to change and then used the color match tool (under Image--Adjustments) in Photoshop to match Rachel's shirt to her boots.

 ORIGINAL
 

EDITED

Color Match:
Messy Max: 2/6/11—5:50 PM; Rexburg, ID; f/5.6; 1/60 sec; Canon PowerShot A1100; flash
-I used color match to warm up this picture a little bit. The original match without any changes made the picture of Max pretty dark, so I bumped up the luminance and increased the fade as well.

 ORIGINAL

Match color using:

EDITED